
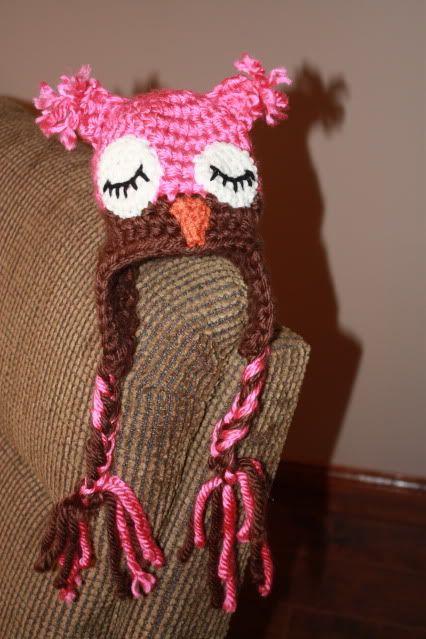
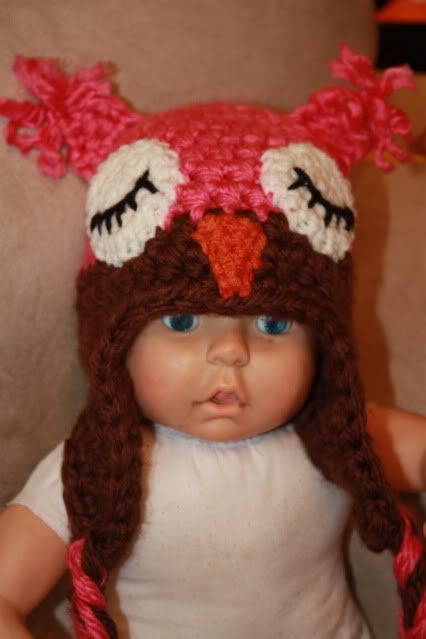
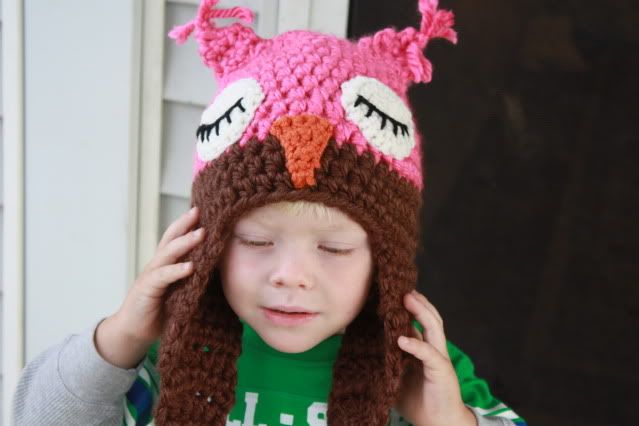
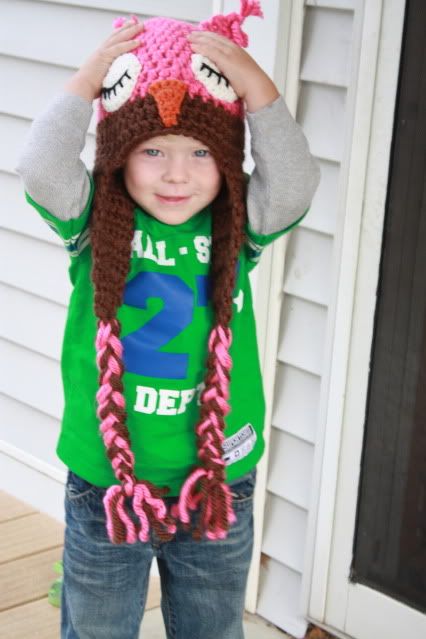
I love these and have been eyeing different owl hats on etsy and ravelry for some time now. It has been on my never ending crafting "to do list" that I keep in my head. I finally made one for this baby girl that should be here soon. Turns out they are a hit, and so far I am in the process of making ten more for people who have wanted one. I am charging $20 a hat, if you want me to make you one let me know! If you know how to crochet it is a really easy project and only takes about 2 total hours from start to finish.
Infant/Newborn size
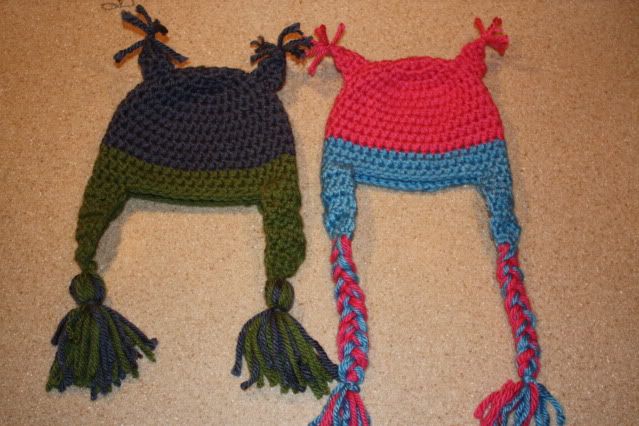
- extra bulky yarn (I use Lion Brand, Hometown USA), two skiens are needed, you can choose all the same color or make the earflaps a coordinating color
- I use a size K hook for the hat, earflaps, and ears
- Worsted weight yarn in white for the eyes, orange for the nose, and black for the eyelashes
- I use a size H hook for the eyes and nose
- Needle for sewing in ends and sewing one the eyes, nose, ears, and eyelashes
How to make it (this is not a pattern or even the best instructions, if you have questions please ask or google is always a great tool!):
- First just make a basic hat, sorry instructions on how to make a hat....but a tip, use the magic loop to start the hat. It is the best way! And I also half double crochet this entire hat. If you need instructions on how to crochet a hat, search ravelry for a free patterns or just google it!
- For a baby hat, I usually start with 6 stitches and then increase until I get to about 36 stitches.
- For a toddler hat, I usually start with 6 stitches and then increase until I get to about 40 stitches.
- For a kids hat, I usually start with 8 stitches and then increase until I get to about 44 stitches.
- If you are doing two colors, I do three rows of the trim color and then cast off.
- Once the hat is done, I do the earflaps. Again size depends on the size of the hat. I mark the middle left and middle right of the hat and then mark the starting points of my flaps, making sure to have 12 stitches across the front of my hat. I then do one side at a time, starting with either 6, 8, or 10 stitches.
- Gradually decrease to get the desired length of earflap, cast off. Repeat on the other side.
- Add either braids or tassels to the ends of the flaps.
- Next I make the ears by chaining 4, 5, or 6 and then I use single crochet. Decreasing to get little triangles. Make 2. Tie a few scrap pieces of yarn at the top to make little tuffs. You can either sew these on now, or set aside and sew everything on at the end.
- With the white yarn and size H hook, make 2 circles. I use single crochet and magic loop to start the eyes.
- round 1: single crochet 6 in loop (6sts)
- round 2: 2 single crochet in each stitch around (12sts)
- round 3: 2 single crochet in each stitch around (24sts)
- round 4: single crochet in each stitch around (24)
- If you want the eyes bigger, repeat round 4.
- With the orange yarn and size H hook, make a triangle for the nose.
- Same concept as the ears, chain however many stitches you want it to be long and then decrease the stitches until it is the shape you want it. Tip, I usually decrease every row but one row I will repeat with the same amount of stitches to make it a bit longer...usually right in the middle so row 3 is usually a repeat row with no decrease.
- When I chain/cast (not sure which is right, is cast off for knitting?), anyways, I leave a long tail and then use this tail of yarn to sew the eyes, nose, and ears into place.
- Now do just that, sew the ears, nose, and then eyes into place. Then sew on some black eyelashes with your black yarn. Finished, and so darn cute!

No comments:
Post a Comment