
Have you heard of the term upcycled? Kind of like recycle. You take something old and used and turn it into something "new". I had some pants that were a little too short and just too big for me. Normally I would just pack away pants that are a bit too big in case I would have to go through that "4th trimester" phase when bigger sized pants are much needed. I might still go through that phase, but these pants would still be too short. I decided to turn them into pants for Trevor. Here is my attempt at a somewhat tutorial. I know there are tutorials all over on how to make pants, but I am a hands on learner and just have to do things to get them and that is how I went about making these pants. I tried to remember to take pictures as I made them. So, here it goes:
Here are my pants.

Folded a pair of Trevor's pants in half and lined them up on the outside seam of one leg to cut, making sure to leave a seam allowance.

Here is what that leg looks like now that it is cut.

Then I used the cut leg as my "pattern" on the other pant leg of my pants.

Here are my "new" pants, in two pieces.

I turned the right sides together (so now they are inside out) and sewed along just the leg part of the pants, leaving the top/crotch unfinished at this point. I did this to both pieces, I used a zigzag stitched and then a straight stitch because I didn't feel like messing with my serger.

That's the one, didn't want to change it up. I am still learning on this machine, and even though it is normally way faster, it can also be way longer if I run into problems with it.

So, the leg was inside out and I turned one of the pant legs back right side out. This is what the inside leg seam will look like.

Both legs sewn, one inside out still the other right side out.

Now, I put the one that was right side out inside of the one that was still wrong side out and lined up the crotch.

I sewed them together, and here is what they now look like right side out.

Now I am making the waist band, so I folded the top down about 1/4 inch and sewed all the way around the top of the pants.

Then I folded that over about 1/2 to 3/4 of an inch and marked where I wanted my drawstring to be.

Once I had it marked I unfolded it and made button holes where the marks are.

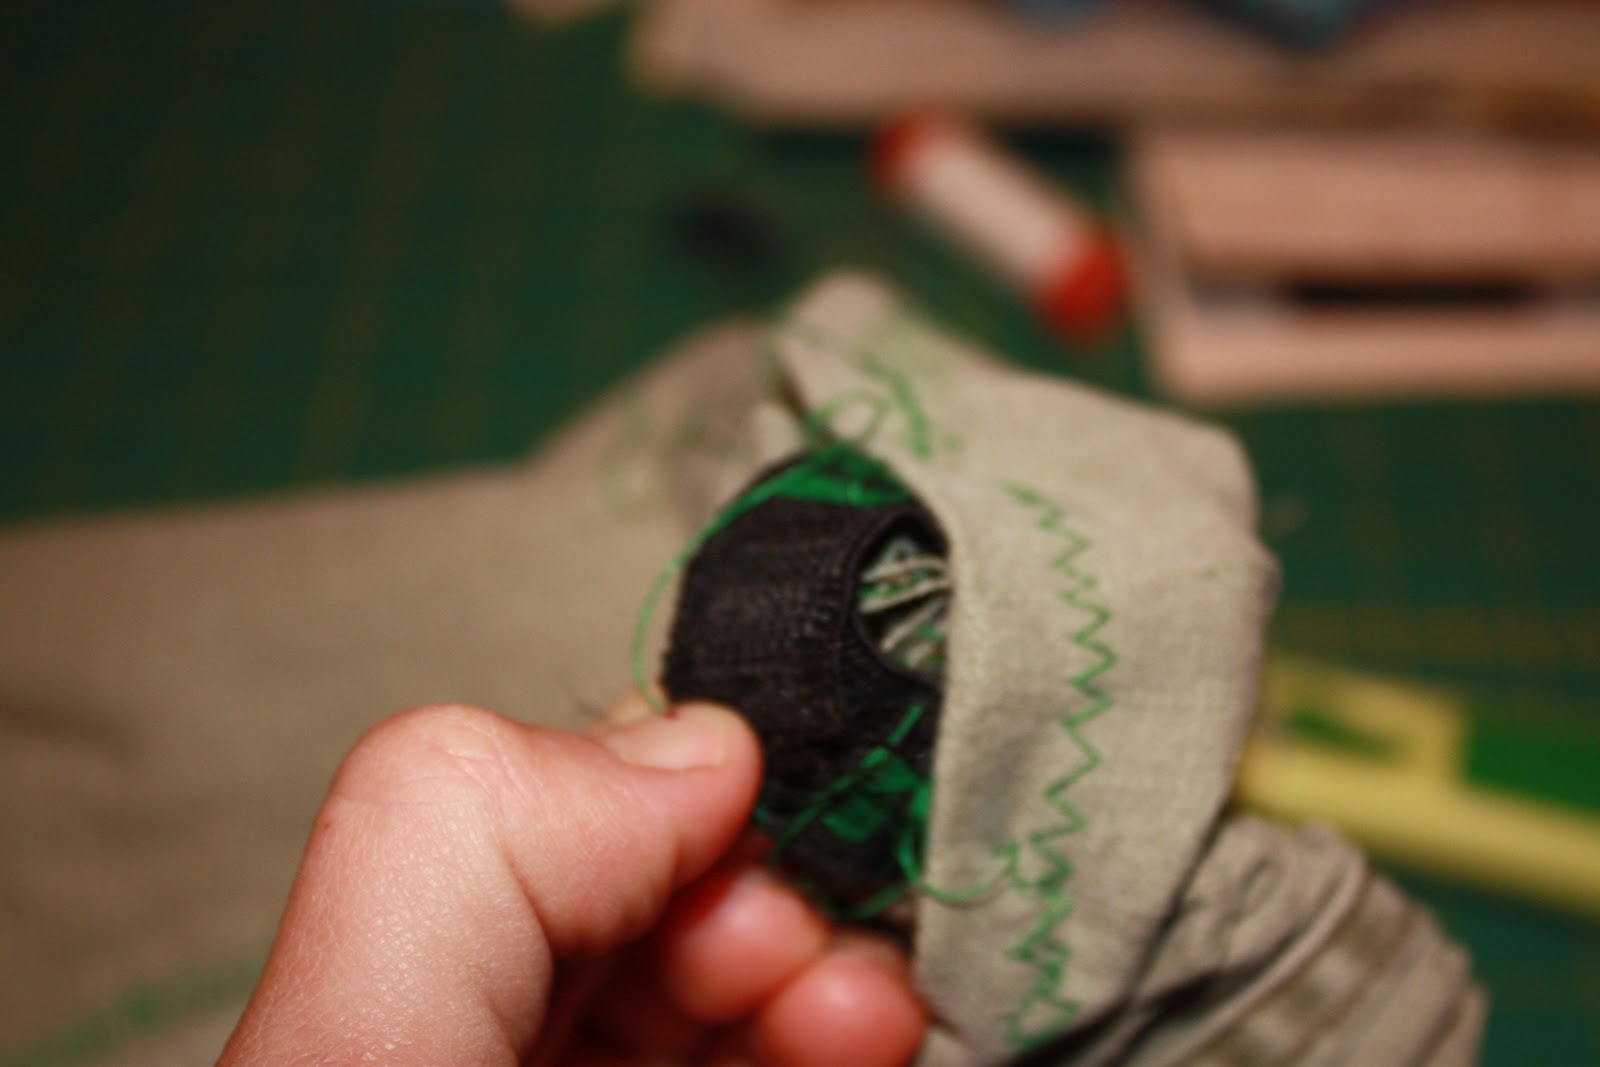
Then I folded it back down 1/2 to 3/4 inch and sewed all the way around making sure to leave an opening to thread my elastic through. (My buttonhole foot was NOT working right, and also I wanted a decorative stitch but that was NOT the one it was suppose to be. Once the drawstring is in and the elastic you can't really see the oops as much)


I cut my elastic about a 1/2 to 1 inch shorter than my son's waist measurement. I cut two pieces of the scrap from the pants and sewed them onto the elastic for a foe drawstring.

Once the elastic is threaded all the way around the pants, pull it out and overlap the two edges and then do a zig zag stitch a few times back and forth to make one continues look of elastic. Then sew that opening up.
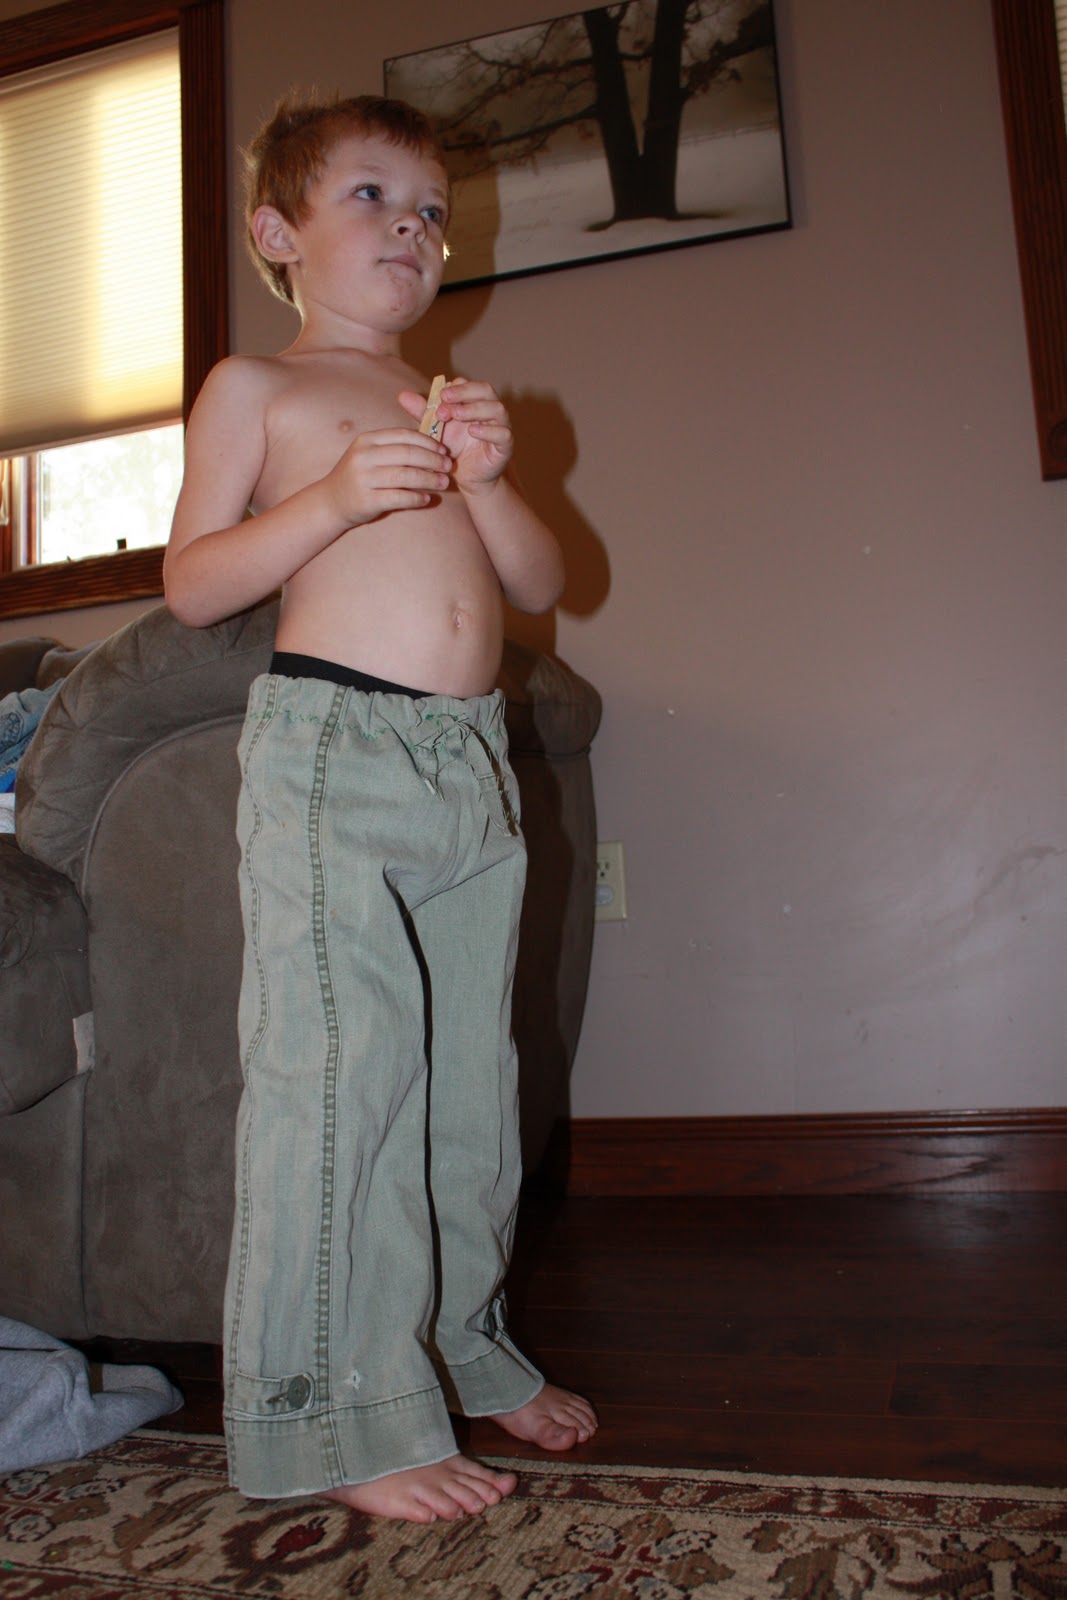
Done!
I cut the pockets off of my pants and will put them on these like cargo pockets. I just have them sitting on the pants right now and need to still hand stitch them into place. (notice the bag in the background, just finished that also and will get pictures up soon)


Trevor wouldn't try them on for me this morning but Landon did:) (I made them for Trevs, so they are a little short on Landon but not to bad)

Linked up at:


No comments:
Post a Comment